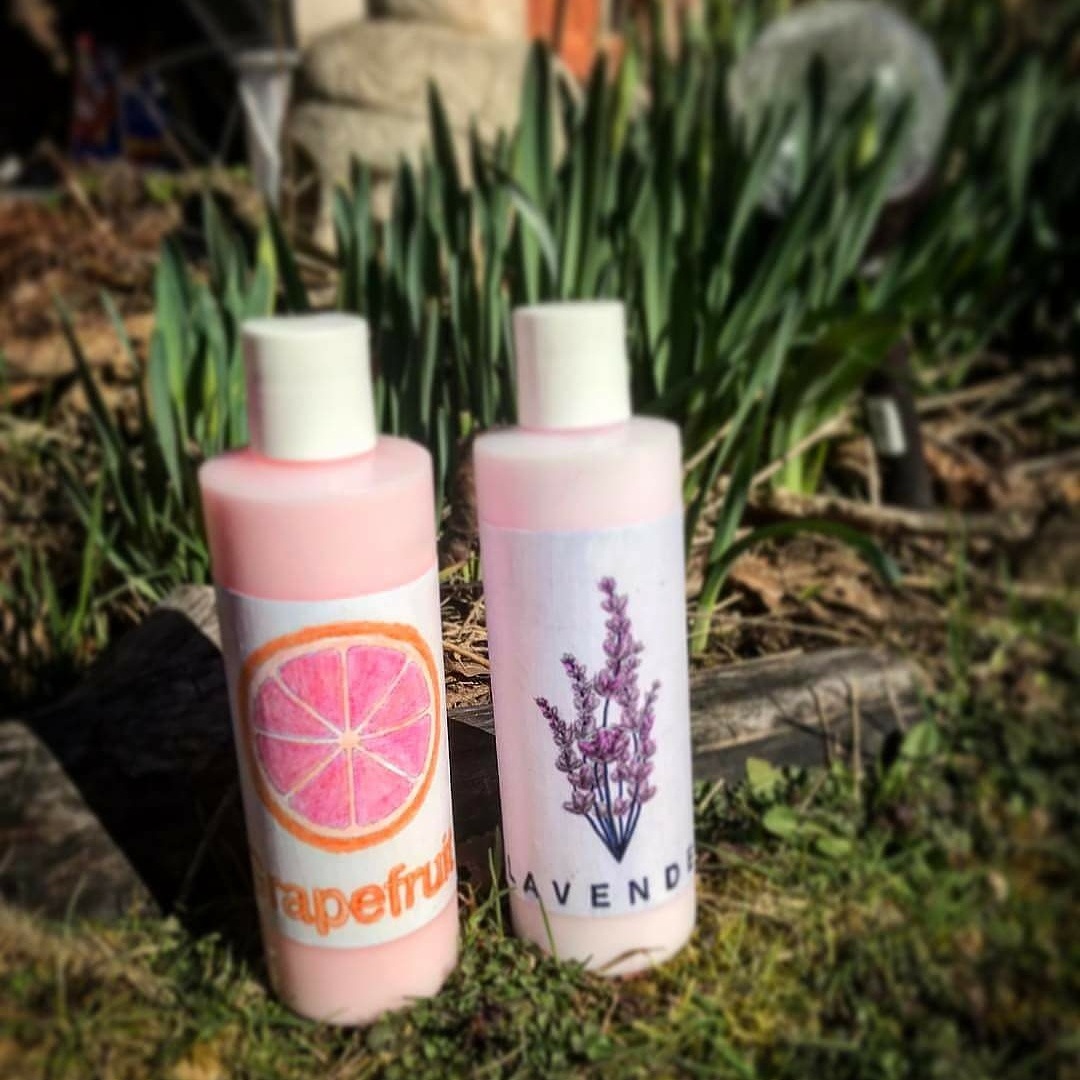

Appreciation post to everyone who has sent me a picture of my creations for them. I really love seeing where they end up. My goal has always been to spread good vibes, and receiving pictures like these makes me feel like I am succeeding. ♡
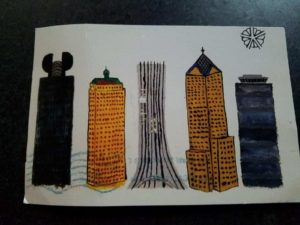


Appreciation post to everyone who has sent me a picture of my creations for them. I really love seeing where they end up. My goal has always been to spread good vibes, and receiving pictures like these makes me feel like I am succeeding. ♡


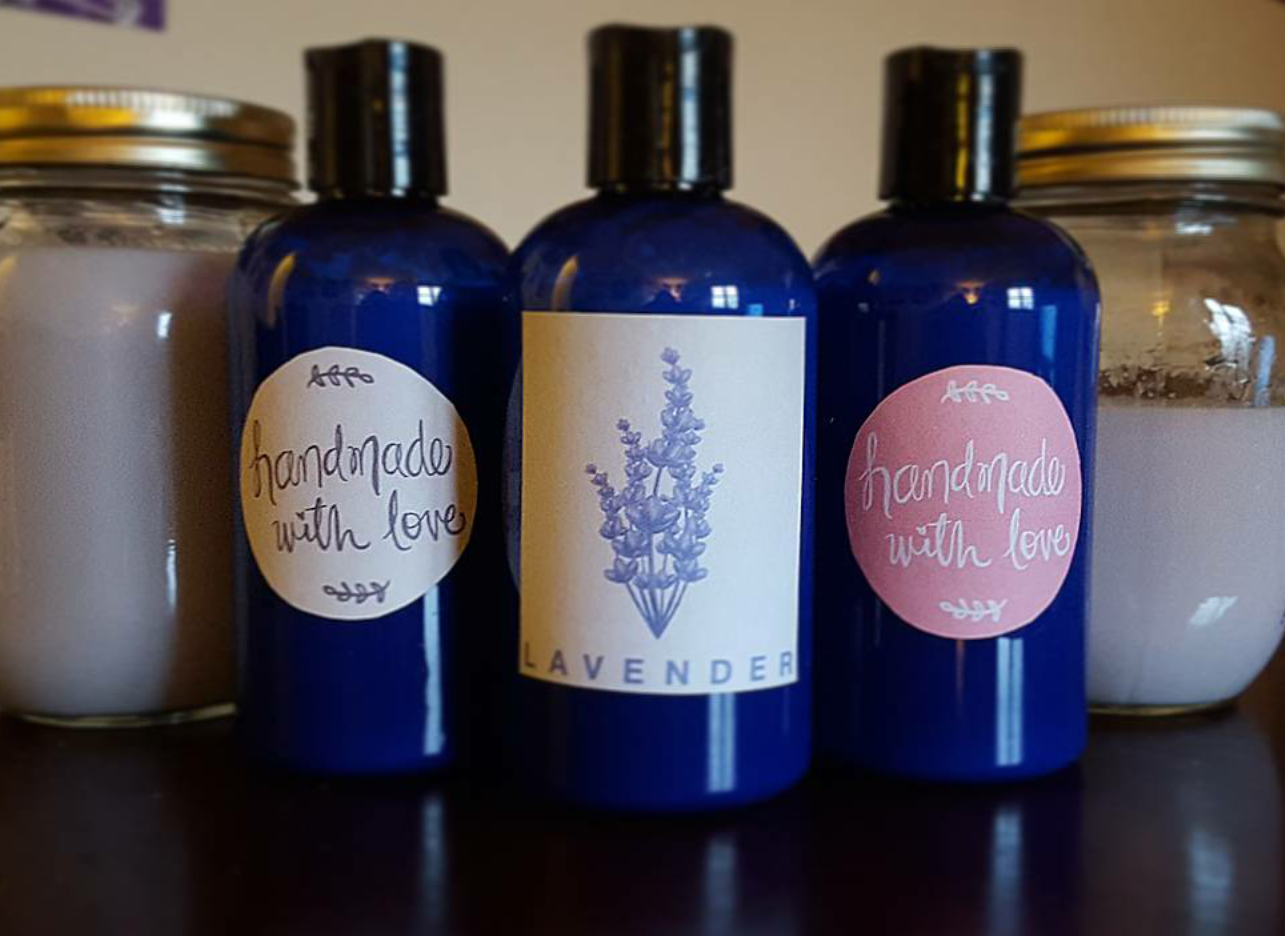
Fall 2015 – Audrey takes an Organic Chemistry Lab Class at Queens College, sparking her interest in creating natural body-care products.


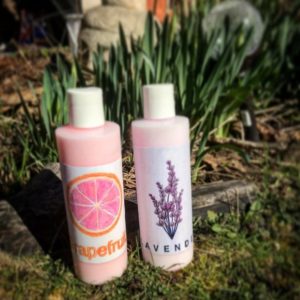
Christmas 2015 – Audrey bottles her handmade lavender and grapefruit lotion as gifts for friends and family, receiving great feedback. (She eventually does the same for Christmas 2016, expanding her recipe with new scents including cedarwood and blood orange.)


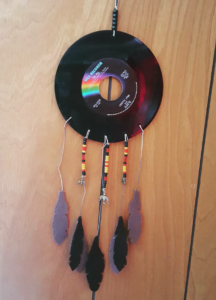
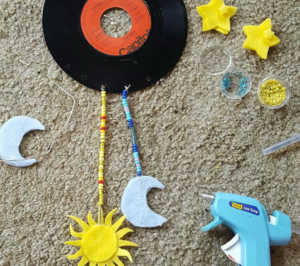
Summer 2016 – Audrey salvages around 30 of the 45rpm vinyl records and starts making dreamcatchers as a way to reuse and recycle them. Originally giving them away as gifts, Audrey got positive feedback and tons of inquiries.
March 31, 2017 – AudreysAlternatives Instagram page was up and running
April 2, 2017 – Audrey’s Alternatives made its first sale as an Etsy shop

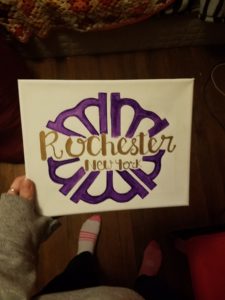
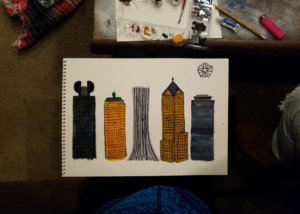
January 2018 – Audrey sells her first commissioned paintings and has postcards printed of her paintings inspired by Rochester NY

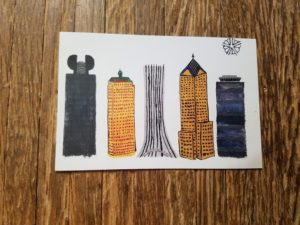
March 11, 2018 – AudreysAlternatives.com website officially launched, eliminating the need for an Etsy shop.
October 2018 – Through Instagram posts and word of mouth, Audrey starts baking at home on commission for friends and family.


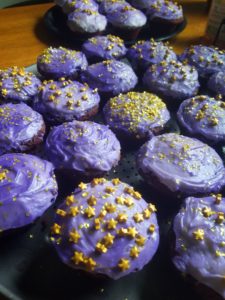
November 2018 – Through her job at a local restaurant, Audrey completes training and is certified as a Food Safety Manager by the National Registry of Food Safety Professionals.
December 2019 – Audrey is gifted an Xyron Creative Station, allowing magnets and stickers to be added to the product line.
April 20th 2020 – Audrey registers as a home processor to sell food products from her home kitchen.
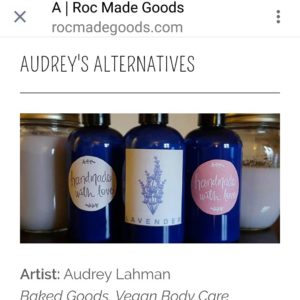
April 26th 2020 – Audrey is listed as a local artist on RocMadeGoods.com
April 28th 2020 – Audrey’s Alternatives is registered with the IRS as a business with an Employee Identification Number.
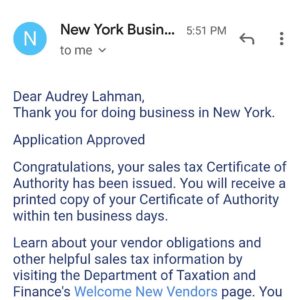
April 30th 2020 – Audrey registers with NYS for a Sales Tax Certificate of Authority in accordance with local business laws.
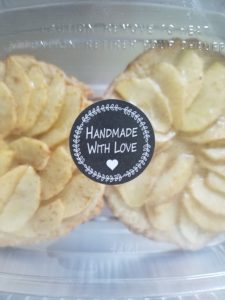
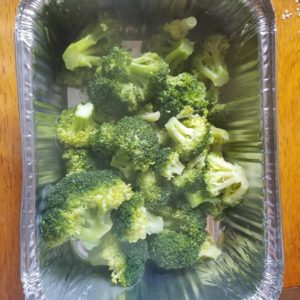
May 2020 – Audrey’s Alternatives starts offering baked goods and Audrey starts taking commissions for cooked meals during the covid-19 pandemic.



May 4th 2020 – Certificate of Individual Doing Business Under Assumed Name / Sole Proprietor form notarized & approved.
November 2020 – Audrey stops working in local restaurants and focuses on her home business full-time. She fine tunes her menu of baked goods and works to fill custom orders.
2021 – Audrey gets married in June, changing her last name from Lahman to LaGar. She gives birth to her son in November.
December 2022 – Audrey changes the business name from “Audrey’s Alternatives” to “Audrey’s Alchemy” to better reflect her products. This involves a new home processor certification and new DBA / Sole Proprietorship.
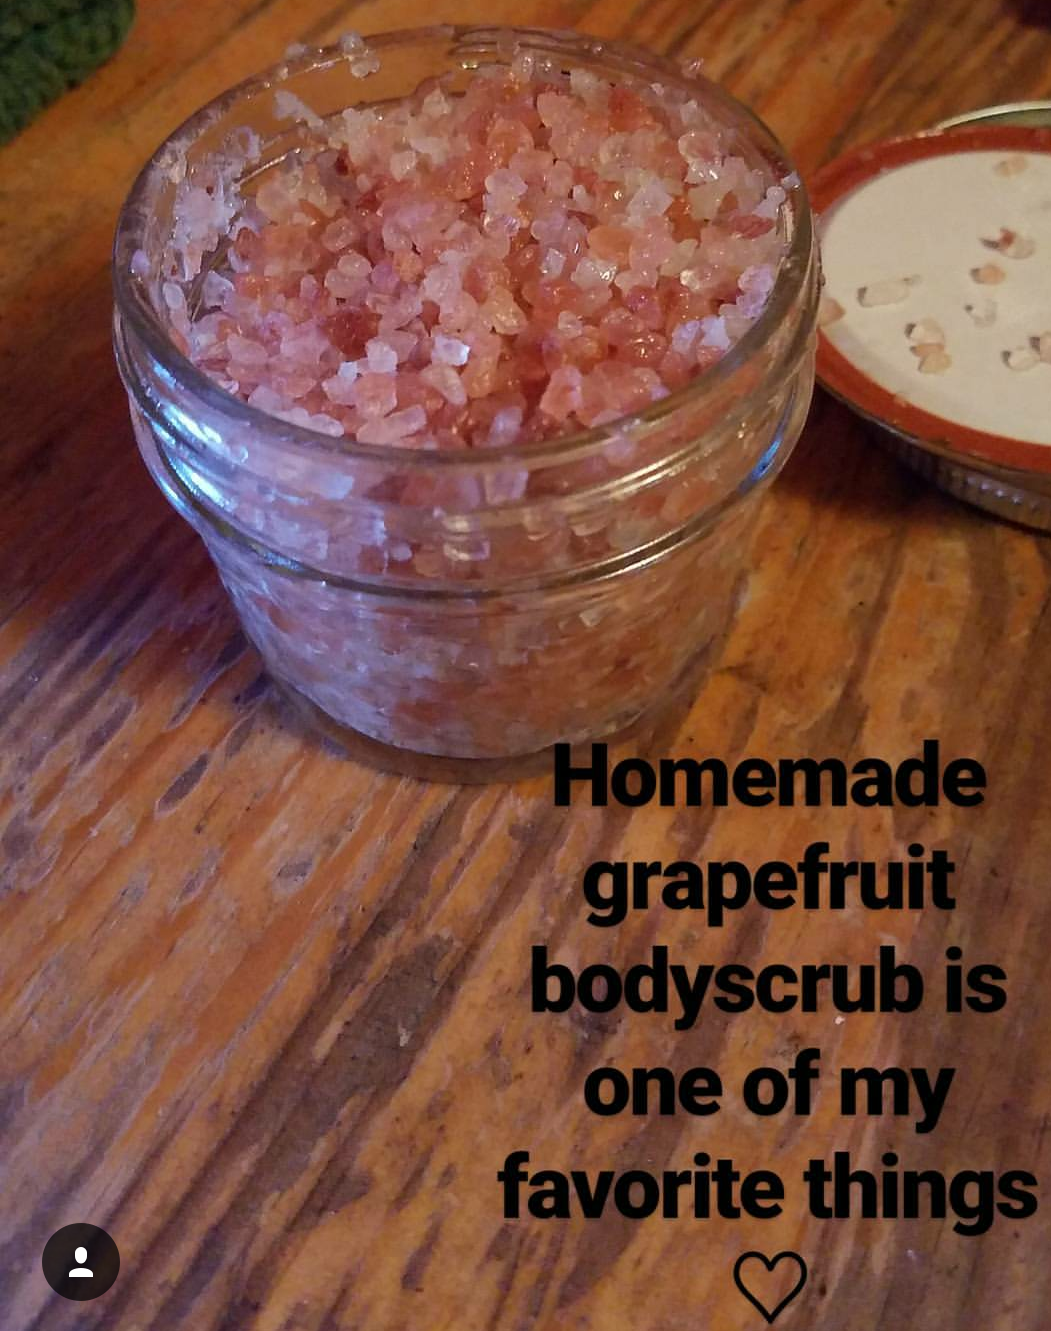
Homemade Grapefruit Bodyscrub is one of my favorite things. My recipe is loosely based on Lush Ocean Salt Scrub. My version is all natural, vegan friendly and safe to eat. (Although it tastes pretty bad lol) It smells amazing and works great on sensitive skin.
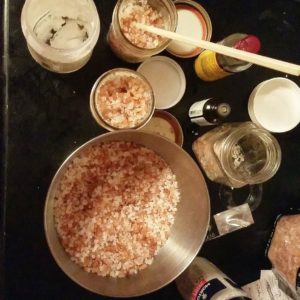

I like to use a mix of fine and coarse ground sea salt in my body scrubs. Finer salt is more gentle for people with sensitive skin. Coarser salt is able to exfoliate more and help your skin get clean. Most grocery stores carry both. If you want to be fancy you can get himalayan pink salt or celtic sea salt which have minerals that may or may not provide added health benefits.
Next I add oil. Different oils have different benefits and treat different skin issues. For example, grape seed oil strengthens and tightens skin while moisturizing to fight aging. Grape seed oil has anti-inflammatory properties that make it good for people with sensitive skin. Coconut oil has a nice smell and contains vitamin E to help repair damaged skin.
I became interested in making lotion from scratch when I made it in a lab class for organic chemistry at Queens College.

In the lab, we used lanolin (sheep fat) which is pretty common in commercial lotions. We experimented with different ingredients to see what impact they had on the final product. I enjoyed the lab but wanted to make a vegan lotion, using plant based fats instead. I wanted to add scent and possibly color.

I tried googling recipes for lotion and quickly became frustrated. Many online d.i.y. recipes for products like lotion and soap are just wrong. Lotions are emulsions, meaning there is a liquid portion blending with a fat, oil or wax portion. In order for this to occur, an emulsifying agent must be used. Far too many of the d.i.y. recipes I found were just blending fats together (won’t moisturize skin and dosent really qualify as lotion) or missing the emulsifying agent (meaning the final product will separate when left standing)!
I started looking at the ingredient labels on lotions that I used, brands like @lushcosmetics and @thebodyshop . I researched ingredients and developed my own recipe based off of the experiment in organic chemistry lab. After a few rounds of trial and error, I came up with a pretty solid basic recipe. Vegan friendly. All natural.

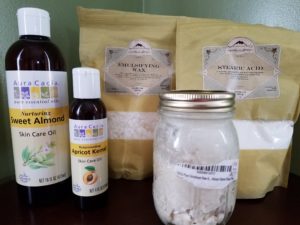
The Ingredients I use are: Water, Sweet Almond Oil, Apricot Kernal Oil, Plant- Based Emulsifying Wax, Stearic Acid, Citric Acid, Potassium Sorbate, Raw Shea Butter, Vitamin E Oil, Essential Oil for Scent and Cosmetic Grade Colorant.


Pot one: emulsifying wax, almond oil and stearic acid
Pot two: water, potassium sorbate
Both pots are heated. Pot one is removed from heat as soon as wax has melted.
Pot two is removed from heat right before boiling and citric acid is added. At this point, I take the temperature of both pots to make sure they are close to each other.
Pot two is slowly added to pot one while stirring.
Stirring really helps the emulsifying agent do its job and keeps the oils and liquids from separating. I stir for a solid 5 minutes and then let it sit, stirring every 15-20 minutes for the next 3 hours.
After the lotion has cooled for one hour, I add the scented essential oil, vitamin E oil and cosmetic grade colorants. I don’t really measure these, just slowly add and stir until I get the color and smell I want.
Once the lotion has almost cooled completely (about 3 hours) I use a funnel to bottle my lotions. I always have fun labeling the containers too.
I use 8oz and 4oz containers for my lotion. Each batch of my lotion recipe yields 48 oz of lotion. I can change the consistency to be thicker or thinner by tweaking the amounts of oils and shea butter in the recipe.


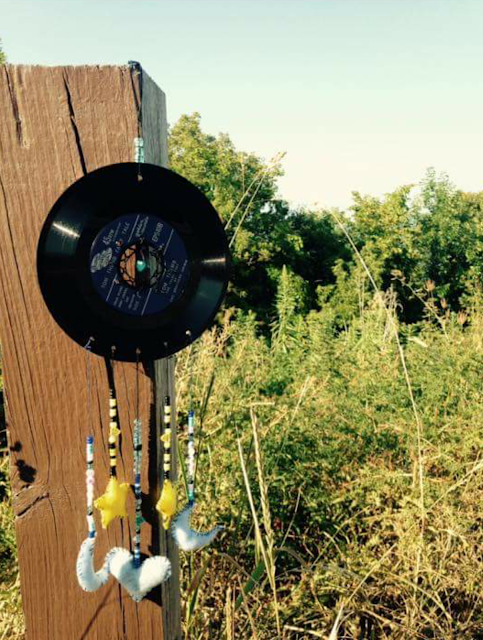 |
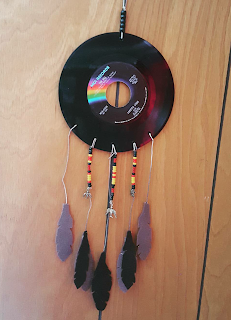
| One of my first dreamcatchers
Photo by Alexis Richey |
A few years ago my grandmother moved into a smaller house and was getting rid of some old 45 vinyls. I grabbed them knowing I would come up with some kind of art project for them.
 |
| My first completed dreamcatcher
3 little birds |
To make the dream catchers, I start by making holes in the vinyl. I do this by heating up a drill bit with a lighter until it’s hot enough to push through the record. It’s important to do this part in a well ventilated area because it smells awful and the fumes should not be inhaled.
I make one hole at the top, 5 to 7 holes at the bottom and 6 to 8 holes around the inside circle.
It took me a while to figure out how to get the actual dream catcher part right. I tie the string in one of the holes and thread it through the rest until I come back to my first knot.
Then I loop the string through each of the loops I just created. With the 45s I can usually go around 3 to 5 times.
I’ve added beads and experimented with different strings.
Now would be the point to add glitter or decorate the middle.
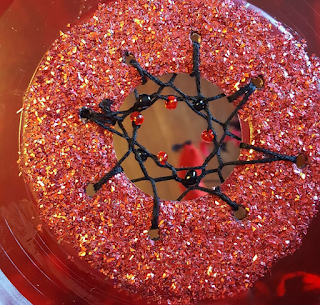 |
When I first started making these dreamcatchers, I cut out feathers and other shapes from felt.
Now I mostly use faux feathers I picked up from the craft store.
I hot glue string or hemp cord to the feathers or shapes. I add beads and tie the ends into the holes I made at the bottom of the vinyl.
I’ve had so much fun making these. I’ve given most of them out as gifts and gotten great feedback. I love being able to turn something that was headed for the trash into something beautiful that people can enjoy.
I am always taking custom orders for these. Message me with a theme or color and I will handcraft a personalized dreamcatcher using an old vinyl 45rpm record.